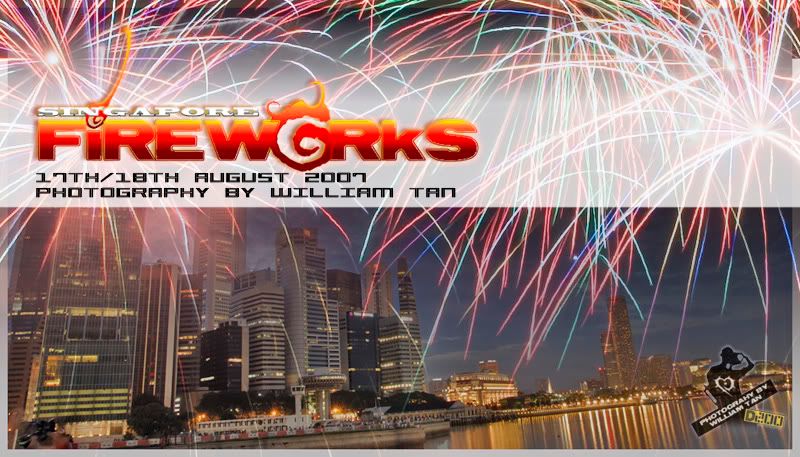
Read all about it here.
For my fireworks series, it is my first take on fireworks when no prior experience, not even with a PNS.
Manual Exposure Settings
I faithfully followed recommended settings of f/11 @ 8s for manual exposure at lowest ISO (I used ISO 100). However, I had trained myself to do very quick reviewing, such that I experimented with f/32 at long shutter speeds to make the fireworks more 'silky'. However, nothing is better than the holy grail settings of f/11 @ 8s.
Remote/Cable Release
I had not used a remote or cable-release for my shoots because I am using Nikon D200. If I was still using my earlier Nikon D50, I would have used the cheap S$16 Nikon ML-L3 wireless remote, which I had since sold. D200 though a more advanced model, does not support wireless remote! I would have to pay for the expensive Nikon MC-30 cable release, even a third-party MC-30 replica costs S$26 (more expensive than Nikon's ML-L3). Hence, I shoot by physically depressing the trigger! But of course, with the aid of a good and sturdy Manfrotto tripod and ballhead .
Shooting without Remote/Cable Release
In order for me not to get any blurry pictures due to physically depressing the trigger, I have adopted two techniques. (1) 'Feather-Finger' Technique and (2) 'Against-the-Strength-of-a-Standing-Elephant' Technique. In (1), I will use only the index finger, half-depress (though not necessary since I am using manual mode and nothing to AF or expose for) the trigger. This is to allow me to calm my breathing before and gently fully-depressing the trigger without using to much force/effort. In (2), I will use appropiate force to press my camera body downward, such that doing so, the resultant force from depressing of the trigger is negligible. Same principle as how you learnt to lean yourself or camera against the wall to get a steady shot when handheld. The only drawback is the tripod feet sinking into the soil!
Self-Timer
I avoided using the 2s timer, because I cannot afford to wait for 2s when I see the burst that I wish to capture! With that 2s, I can do a quick review to check the highlights for any overexposure. However, setting it on interval shooting is useful.
Interval Shooting
Nikon D200 can be programmed to do interval shooting, which is to automatically shoot a pre-defined number of shots, at pre-defined number of intervals and pre-defined timing of exposure and intervals, for a pre-defined duration. It can be rather useful, if you have more than one camera setup to look after. However, you do not have control over what to shoot, since you can never expect what's coming.
Bulb Mode
I tried Bulb mode as well. It is a very good method, if you can estimate the exposure well. But I am not at that skill level yet.
ND8 Filter
During the pre-event, I even tried handholding an ND8 square filter before my lens hood. However, stray light from between the hood and filter, and diffraction from edge of the filter, gave me ghastly yellow spots. Purpose for using ND8 filter is to allow me to use a slower shutter speed.
Advanced Bulb Mode / Black Card Method - Multiple Exposure
Advance Bulb mode or I believe is what I call the 'Black card method', where you use a very long shutter speed, use a black card to block out exposure in-between bursts, such that separate bursts are captured in ONE exposure (photo). This is definitely the key to creative fireworks shots! Like you mentioned, overlapping can cause overexposure. Nikon D200 has a built-in-camera 'Multiple Exposure' feature which is works the same way, except that the camera uses the mirror to serve as the black card. You must first pre-define the number of exposures (shots) to be recorded as ONE exposure (photo). Overexposure is prevented by the built-in-camera algorithms in the 'Auto Gain' adjustment. This feature can be simulated in the digital darkroom.
Long Exposure & Low Processing Time
You mentioned about long processing time in-between shots. The processing should not take long, at least for all Nikon cameras ;p. The reason for the long processing time is because when you are using long exposures, the camera (Nikon DSLRs) by default are set to do a noise reduction processing, marked by a flashing 'NR' word on the status display or some viewfinder. Did you see this in your LCD screen? The non-high end DSLR will even have a 'mirror-lock' such that you are not allowed to fire while processing. High-end Professional models like D2Xs have a huge memory capacity, hence they will not have this problem (laugh all you want D2Xsers!). Nevertheless, you should be able / can turn off Noise Reduction from the menu. By turning off NR, the processing time isif not the same, as fast as your normal day shots. Try it!
technorati tags
Photography Nikon D200 Fireworks Techniques Tutorial

Comments